Depth in Phone Photos

Nora
| 08-09-2026
 · Art Team
Hello, readers. You snap a photo of a beautiful street scene, check the screen, and it looks like a flat, boring postcard.
The mountain you saw with your own eyes had depth, but the picture shows a gray wall of rock. That gap between what your eye sees and what your phone captures is the whole game of layering, and you can close most of it without buying any gear.
Why foregrounds make or break depth
The quickest fix is to stop framing only the distant subject. Your eye naturally reads depth by comparing a near object against a far one, so give your camera that same cue. Walk close to a railing, a fence post, or a low branch and place it at the bottom corner of the frame. On a hiking trail, step behind a single tall grass stalk and focus on the ridge beyond it. The phone's autofocus will lock onto whatever you tap, so tap the distant peak and let the foreground blur into soft color. That single move, adding a close element, instantly turns a flat shot into a layered one.
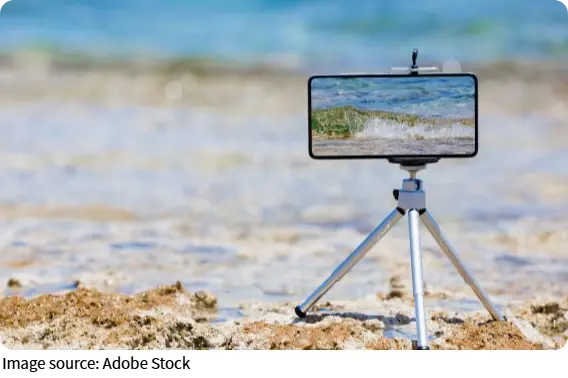
Light direction sets the whole mood
Flat lighting, like an overcast noon, compresses tones and kills texture. Side light, where the sun hits your subject from the left or right, rakes across surfaces and throws small shadows that outline shape. Try shooting a brick wall or a tree trunk in late afternoon when the light comes at a low angle; the grooves and ridges pop out in a way they never do at midday. Backlight is the other strong tool. Put your subject between you and the sun and you get a bright rim around the edges, which separates the person or object from a darker background. You do not need a golden-hour window either. Even a shaded alley with a bright opening at the end creates that same separation between shadow and light.
Angle changes the story you tell
Shooting everything at eye level is the fastest way to a boring set of photos. Crouch down low and shoot upward at a building, and the lines converge into a dramatic upward sweep. Climb to a second-story balcony and shoot down on a market stall, and the clutter organizes into a pattern. For a portrait, step back a few meters and put your friend near a wall, then shoot from a slight low angle so the wall recedes behind them. The change does not need to be dramatic. Even a 15-degree tilt down or up shifts which lines converge and which planes separate, giving your eye more to sort through.
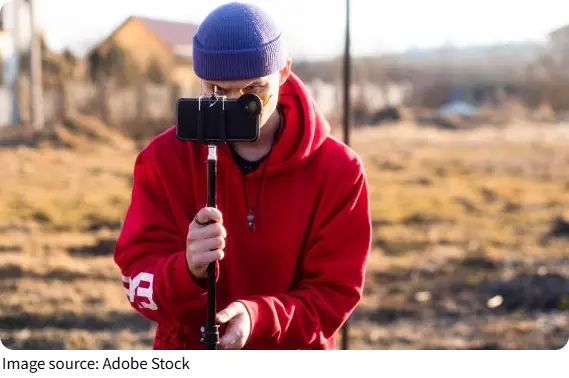
Let distance create natural layers
You do not need to stack objects artificially. The world already has depth, you just have to frame it in slices. Find a spot where a near wall, a middle street, and a far skyline all fall into the same shot, then move until the three bands clearly separate. On a coastline, that might be a rock ledge in front, waves mid-frame, and a headland behind. In a city, it could be a parked bicycle up close, a crossing pedestrian in the middle, and a tower block far off. The key is making sure each layer has its own brightness or focus so they do not merge into one gray mass. Try locking exposure on the brightest layer, then let the darker ones fall naturally.
Depth in phone photos comes down to a few deliberate choices, not expensive lenses. Add a close foreground, watch where your light comes from, bend your knees or climb a step, and compose in visible slices. Next time you pull out your phone, scan the scene for three distinct distances before you tap the shutter. You will see the difference immediately.